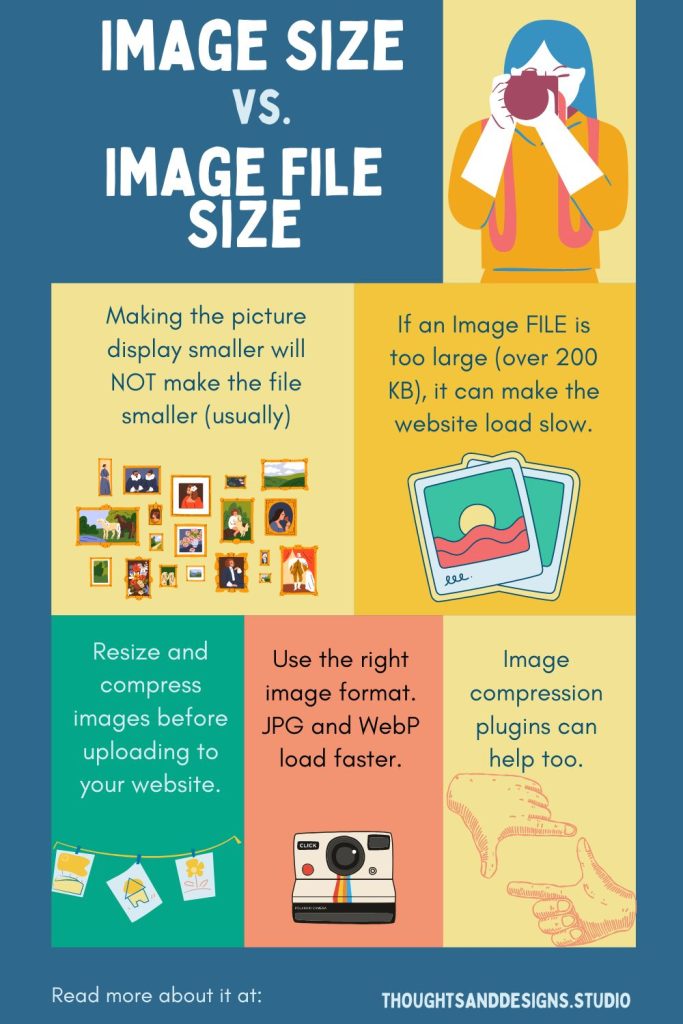
There’s a difference between image size on your website and the size of the files of those images. The distinction is important, as your image’s file size can affect your business in many ways.
Why Image File Size Matters
When a visitor comes to your website, every part of the page they land on needs to load for them. How fast or slow this happens depends on many things including the size of the files on the page. If your image files are huge, they will slow the entire page down.
A slow page often means visitors will leave or at least be frustrated.
Studies have shown most website visitors decide within five seconds if they will stay on a web page. You want your page to load fast.
Giant image files will slow that down.
Does Image File Size mean Small Image sizes?
No.
You can have a picture that fills the screen with a small file size, if the image was saved in a way that optimized it for the web. In other words, it was slightly lower quality than for print, compressed more, and saved in such a way as to load faster.
Image size doesn’t determine image file size (usually).
In the same way, you can have small pictures that have huge file sizes, simply because of how they were saved.
How Do I Make My Image Files Smaller?
You’re probably wondering how to get smaller file sizes for your website pictures. There are a few methods.

No matter what you do, always make a copy of the original before you start, so you have a higher quality image in case you need it for print media.
Adobe Photoshop: My method
I use Photoshop or Lightroom (both from Adobe), since I’m familiar with the tools and they do a great job.
Under Edit →Image size, I make sure it’s set for 72 DPI and I make sure it’s less than 2000px wide or tall. Then I go to File → export and I adjust the export settings until the image is under 200kb without looking fuzzy. I usually save my images as jpg’s or webp.
Webp is a small file format and loads fast, so it’s preferable.
If it’s a transparent graphic I save it as either png or webp.
Online Bulk Resize Image Compressor
Another method is to use the Bulk Resize Photos site, and choose “compressor”. This will compress your images down to a smaller file size. You can tweak the results by changing some of the settings.
Image Smushing Plugins
There are some image smushing plugins available for WordPress, however these often charge you based on how much you are smushing off of your images or how many images you need to compress. I find it easier to resize the images BEFORE loading them into the website, and then using a plugin like this.
The results are better, and you get more bang for your buck.
As of this writing, the best image plugins are
- Smush
- Elementor Image Optimizer
- JPG/PNG to WebP
Using a CDN to Cache Your Images
Another option, after you’ve compressed your images, is to use a CDN like Cloudflare to deliver files like your images. This will help with any sort of lag time, and will help your website load faster.
If your website is not loading fast (you can test it here: Page Speed Insights), the size of your image files might be the culprit. Compressing your images and optimizing your images for the web is the best place to start. There are many free and freemium tools you can use to compress your image files so they load faster, providing a better user experience for your website visitors.

